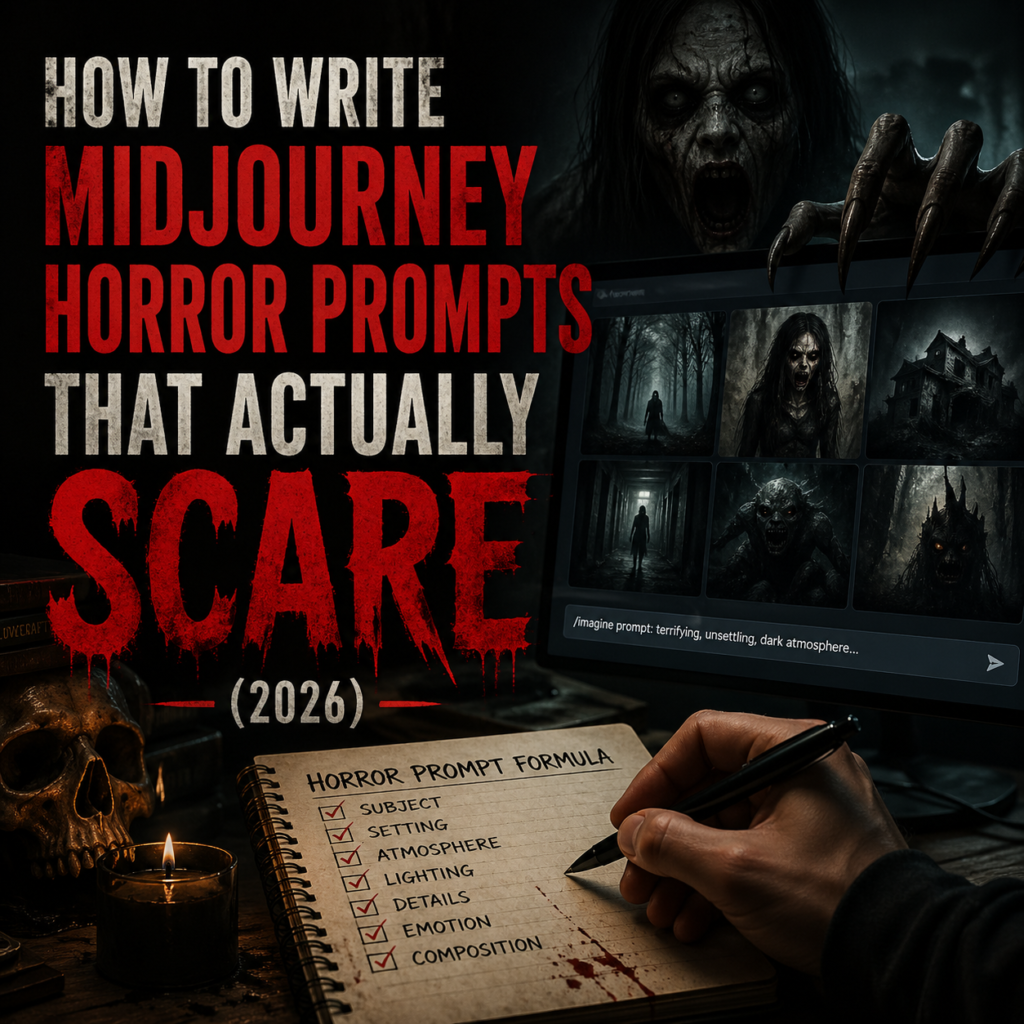
Why Horror Prompts Are Harder Than They Look
Horror is one of the most demanding genres in AI image generation. You are not just describing a scene. You are engineering a specific emotional response in the viewer. That requires precision at every layer of your prompt — from the atmosphere down to the exact quality of light hitting a character’s face.
Midjourney is extraordinarily capable when it comes to dark, cinematic imagery. But it defaults toward clean, aesthetically pleasing results unless you actively push it toward discomfort. A prompt like “scary monster in the dark” will get you something generic every time. The prompts that produce genuinely disturbing results are built differently.
Before you write a single word, understand this: Midjourney responds to specificity and contradiction. The most effective horror prompts combine something familiar with something deeply wrong about it. A normal living room. But the shadows are pooling in the wrong direction. A child standing in a field. But facing away. Completely still. These micro-details are what separate striking horror from stock photo mediocrity.
The Anatomy of a Perfect Horror Prompt
Every high-quality Midjourney horror prompt is built from six layers. Miss one and the image loses power. Here is exactly what each layer does and what to write in it.
Layer 1: The Subject
Be specific about what is in the frame and what is wrong with it. Do not write “a monster.” Write “a tall figure with elongated limbs standing at the end of a hospital corridor, its head tilted at an impossible angle.” The wrongness has to be in the description, not implied.
Layer 2: Setting and Atmosphere
Place the subject in an environment that amplifies the dread. Liminal spaces work exceptionally well because they feel real but wrong. Empty shopping malls at 3am, flooded basement corridors, overgrown playgrounds at dusk. Add weather and texture. Fog, heavy rain, flickering fluorescent light. These details multiply the effect of your subject.
Layer 3: Lighting
This is the single most underused layer in horror prompts. Lighting controls mood more than any other element. For horror, you want hard directional light from unexpected angles, deep crushed shadows, practical light sources like candles or flickering screens, and very little fill light. Write it explicitly: “single bare bulb overhead, harsh shadows falling downward, no ambient fill, deep blacks”
Layer 4: Camera and Composition
Midjourney understands cinematic language. Use it. Low angles make subjects feel dominant and threatening. Extreme wide shots make subjects feel small and isolated. Over-the-shoulder perspectives create an uncomfortable sense that something is watching. Always specify lens and format: anamorphic lenses introduce natural distortion at the edges that adds unease. Film grain adds texture that reads as real rather than digital.
Layer 5: Color Grade
Color alone can make or break a horror image. The classic horror palette crushes the blacks, desaturates midtones, and preserves or slightly shifts specific accent colors. Think of the teal-orange grade used in modern horror cinema or the sickly green-grey of found footage. Write your grade directly into the prompt: “desaturated palette, crushed blacks, sickly teal shadows, warm practical light sources”
Layer 6: Quality Anchors
End every prompt with quality anchors that tell Midjourney what production level you are targeting. These include: cinematic photography, 35mm film grain, anamorphic lens flare, shallow depth of field, photorealistic, RAW photo. These pull the output toward the aesthetic register you want.
10 Ready-to-Use Midjourney Horror Prompts
These are structured using all six layers above. Copy them directly into Midjourney or use them as a starting point. For a full library of tested horror prompts, visit the Midjourney Horror Prompts collection on Promptiex.
The Parameters That Change Everything
Beyond the prompt text itself, your Midjourney parameters control how far the model pushes toward realism versus stylization. For horror photography specifically, these are the settings that consistently produce the best results.
| Parameter | Value | What It Does |
|---|---|---|
--style raw | Always on | Removes Midjourney’s default beautification. Essential for realistic horror. |
--stylize | 50 to 100 | Lower values stay closer to your prompt. Keep it low for realism. |
--weird | 200 to 400 | Adds unexplained visual wrongness. Great for uncanny valley effects. |
--chaos | 5 to 15 | Varies output across the grid. Use to explore before committing. |
--ar | 16:9 or 21:9 | Cinematic ratios add instant production quality to the frame. |
--v 7 | Always on | Current best version for photorealistic output. |
Common Mistakes That Kill the Horror
-
1Being vague about what is wrong Writing “scary” or “creepy” gives Midjourney nothing to work with. Describe exactly what is off. The angle. The position. The detail that should not be there.
-
2Too much fill light Midjourney defaults to even, flattering light. Horror requires contrast, deep shadows and a single hard source. Explicitly write “no ambient fill, deep blacks, single light source.”
-
3Skipping the camera layer Without a lens and shot type, Midjourney makes a generic composition. A specific camera angle is what makes a horror image feel like a scene rather than an illustration.
-
4Leaving –style raw off Without this parameter, Midjourney will beautify everything. Horror images need texture, imperfection and rawness. Always include –style raw.
-
5Overloading the prompt with monsters The most effective horror is often about implication. What is almost visible. What should not be there. What is slightly wrong. Too many explicit horror elements make the image feel cartoonish.
Advanced: The Implication Technique
The strongest horror prompts do not show you the threat directly. They show you evidence of it. This technique works because your brain fills in the gaps with something more terrifying than anything the model would generate.
Instead of describing a creature, describe what a creature just did. Scratch marks on a door that goes down the hallway and around the corner out of frame. Wet footprints on a dry floor leading toward a closed door. A set table with food still warm but the family gone. A window broken from the outside on the third floor.
This is also where Midjourney’s --weird parameter earns its keep. Values between 250 and 400 introduce subtle visual contradictions that the model itself generates — wrong reflections, impossible geometry, objects that do not quite obey physics. These details appear across the whole image in ways you could not have specified directly and they add a layer of genuine unease that feels organic rather than engineered.
Connecting Horror Prompts to a Content Workflow
If you are creating horror content for social platforms, the prompts in this guide work directly as a production pipeline. Generate your base image in Midjourney, then use a video tool like Kling AI with very low motion strength (0.2 to 0.4) to add subtle movement — breath, flickering light, slow camera drift. Keep negative prompts focused on preventing artificial movement: “no puppet movement, no doll physics, no mechanical motion, organic only.”
For building a consistent horror aesthetic across multiple images, the character reference technique in Midjourney lets you lock in a specific character’s appearance across different scenes. The complete guide to character reference in AI on Promptiex covers exactly how to set this up.
For understanding how the underlying prompt structure works across all image types, not just horror, the complete guide to writing AI image prompts gives you the full framework.
Frequently Asked Questions
Browse 100+ Horror Prompts
Skip the guesswork. The Promptiex horror library has tested, ready-to-use prompts for every type of dark and cinematic imagery.
View Horror Prompts →